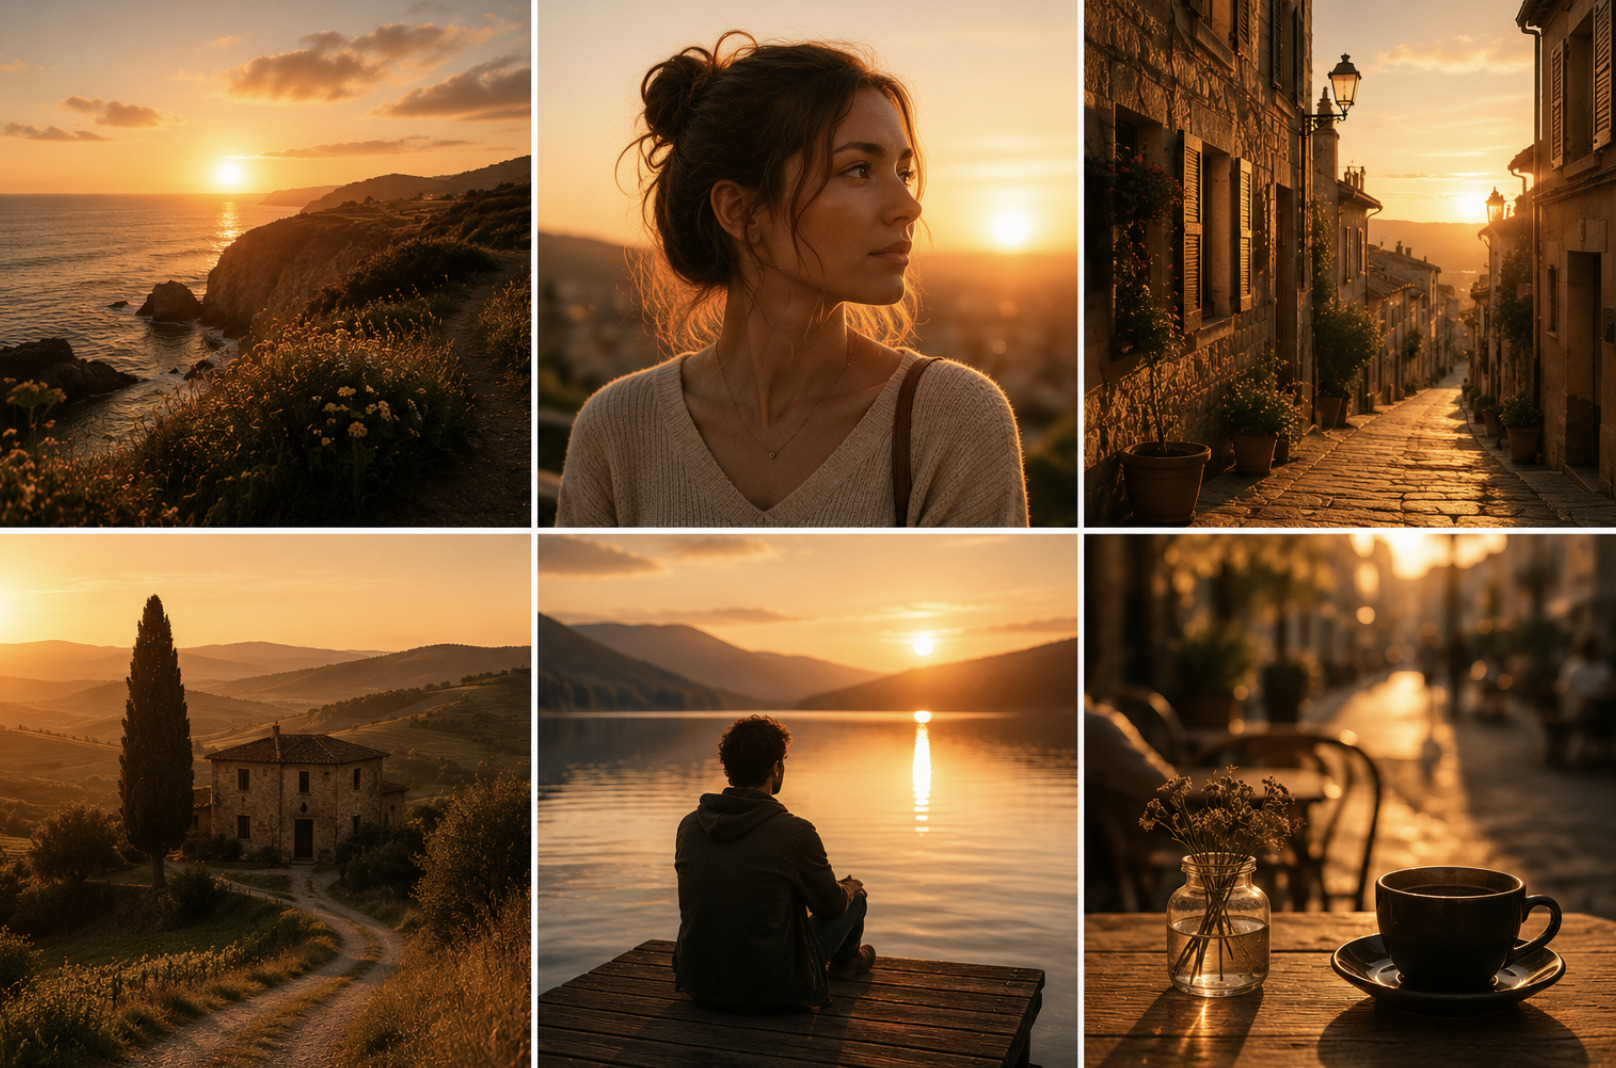
Ask a group of photographers when to shoot and a surprising number will give the same answer: golden hour. It is the loose window shortly after sunrise and before sunset when sunlight turns warm, soft and directional, and it has an almost magical effect on photographs. Landscapes glow, skin looks its best, ordinary scenes take on a cinematic warmth. The light does so much of the work that even a simple snapshot taken at golden hour can look accomplished. Understanding why this light is so flattering, and how to make the most of it, is one of the highest-value things a photographer can learn, because it costs nothing but timing.
Why this light is so different
The beauty of golden hour comes down to physics, and knowing the reasons helps you use it deliberately. When the sun sits low near the horizon, its light travels through much more of the atmosphere before it reaches you. That longer path scatters away the cooler blue tones and lets the warmer reds and golds dominate, which is why the light takes on its characteristic honeyed color. The same low angle also spreads the light out and softens it, so instead of the harsh, top-down glare of midday, you get a gentle, wraparound quality that is kind to almost any subject.
That combination — warm color, soft quality and a low angle — is what makes golden hour so universally flattering. The low sun rakes across the landscape rather than beating straight down, revealing texture and casting long, graceful shadows that give images depth and dimension. On faces, the soft light smooths harsh shadows under the eyes and nose that midday sun exaggerates, which is why portrait photographers prize it. Everything from a mountain range to a coffee cup gains a sense of atmosphere. The light is doing something a photographer would otherwise struggle to create artificially, and it is free for anyone willing to show up at the right time.
Planning beats luck
The catch, of course, is that golden hour is short and fleeting, and the light changes quickly within it. This makes planning the difference between catching it and missing it. The most basic step is simply knowing when sunrise and sunset occur where you are, and treating the window around them as an appointment rather than a happy accident. Serious golden hour photography is less about spontaneity than about being in position, ready, before the light peaks, because by the time you notice how good it looks it may already be fading.
Beyond timing, think about position and direction. Because golden hour light is so directional, where you place yourself relative to the sun dramatically changes the result. Shooting with the sun behind your subject can produce a glowing rim of backlight and a luminous, dreamy feel; shooting with the light to the side sculpts texture and form with long shadows; shooting with the sun behind you bathes the scene in even, warm illumination. None of these is more correct than the others, but each is a deliberate choice, and knowing them in advance lets you work fast during a window that will not wait. It also pays to arrive early and scout, so that when the light arrives you are thinking about the picture rather than the logistics.
Shooting into the golden light
Golden hour rewards a slightly different approach than the middle of the day. Backlighting, in particular, becomes a creative tool rather than a problem to avoid. Placing the sun behind your subject can create beautiful halos, lens flares and a soft glow, but it also challenges your camera's metering, which may darken the subject into a silhouette as it tries to cope with the bright sun. Being aware of this lets you decide what you want — a bold silhouette against a blazing sky, or a well-lit subject rimmed with light — and expose accordingly rather than leaving it to chance.
The other quality to embrace is change. Golden hour is not static; the light shifts in color and intensity from minute to minute, cooling and dimming as the sun drops, and each moment offers something a little different. Rather than fixing on one idea, keep working the scene as the light evolves, because the best frame often comes in a window of just a few minutes. This same sensitivity to how light behaves is the foundation of strong photography in any conditions, a way of seeing worth developing deliberately, as explored in why the best photographers see light differently. Golden hour is the ideal classroom for it, because the light is doing something visibly extraordinary.
Editing to protect the magic
When it comes to processing golden hour images, the guiding principle is restraint, because the light is already beautiful and your main job is to protect it rather than manufacture it. The warmth is the whole point, so resist the reflex to neutralise the color balance the way you might for an ordinary photo; that honeyed tone is what you came for. Gentle adjustments that preserve the glow — protecting the highlights in the sky, lifting shadows just enough to keep detail, keeping the warmth intact — usually serve the image far better than heavy-handed edits.
The danger is overcooking. It is tempting to push the saturation and contrast to make an already-golden scene even more dramatic, but this often tips a naturally lovely image into something garish and artificial. The light gave you most of what you need; the edit should refine, not shout. That balance between enhancing an image and overworking it applies everywhere, and it is worth keeping in mind here above all, as we discuss in the fine line between editing a photo and overcooking it. Handle golden hour footage with a light touch and you preserve exactly the quality that made you reach for the camera in the first place — the simple, fleeting magic of the light that flatters everything.