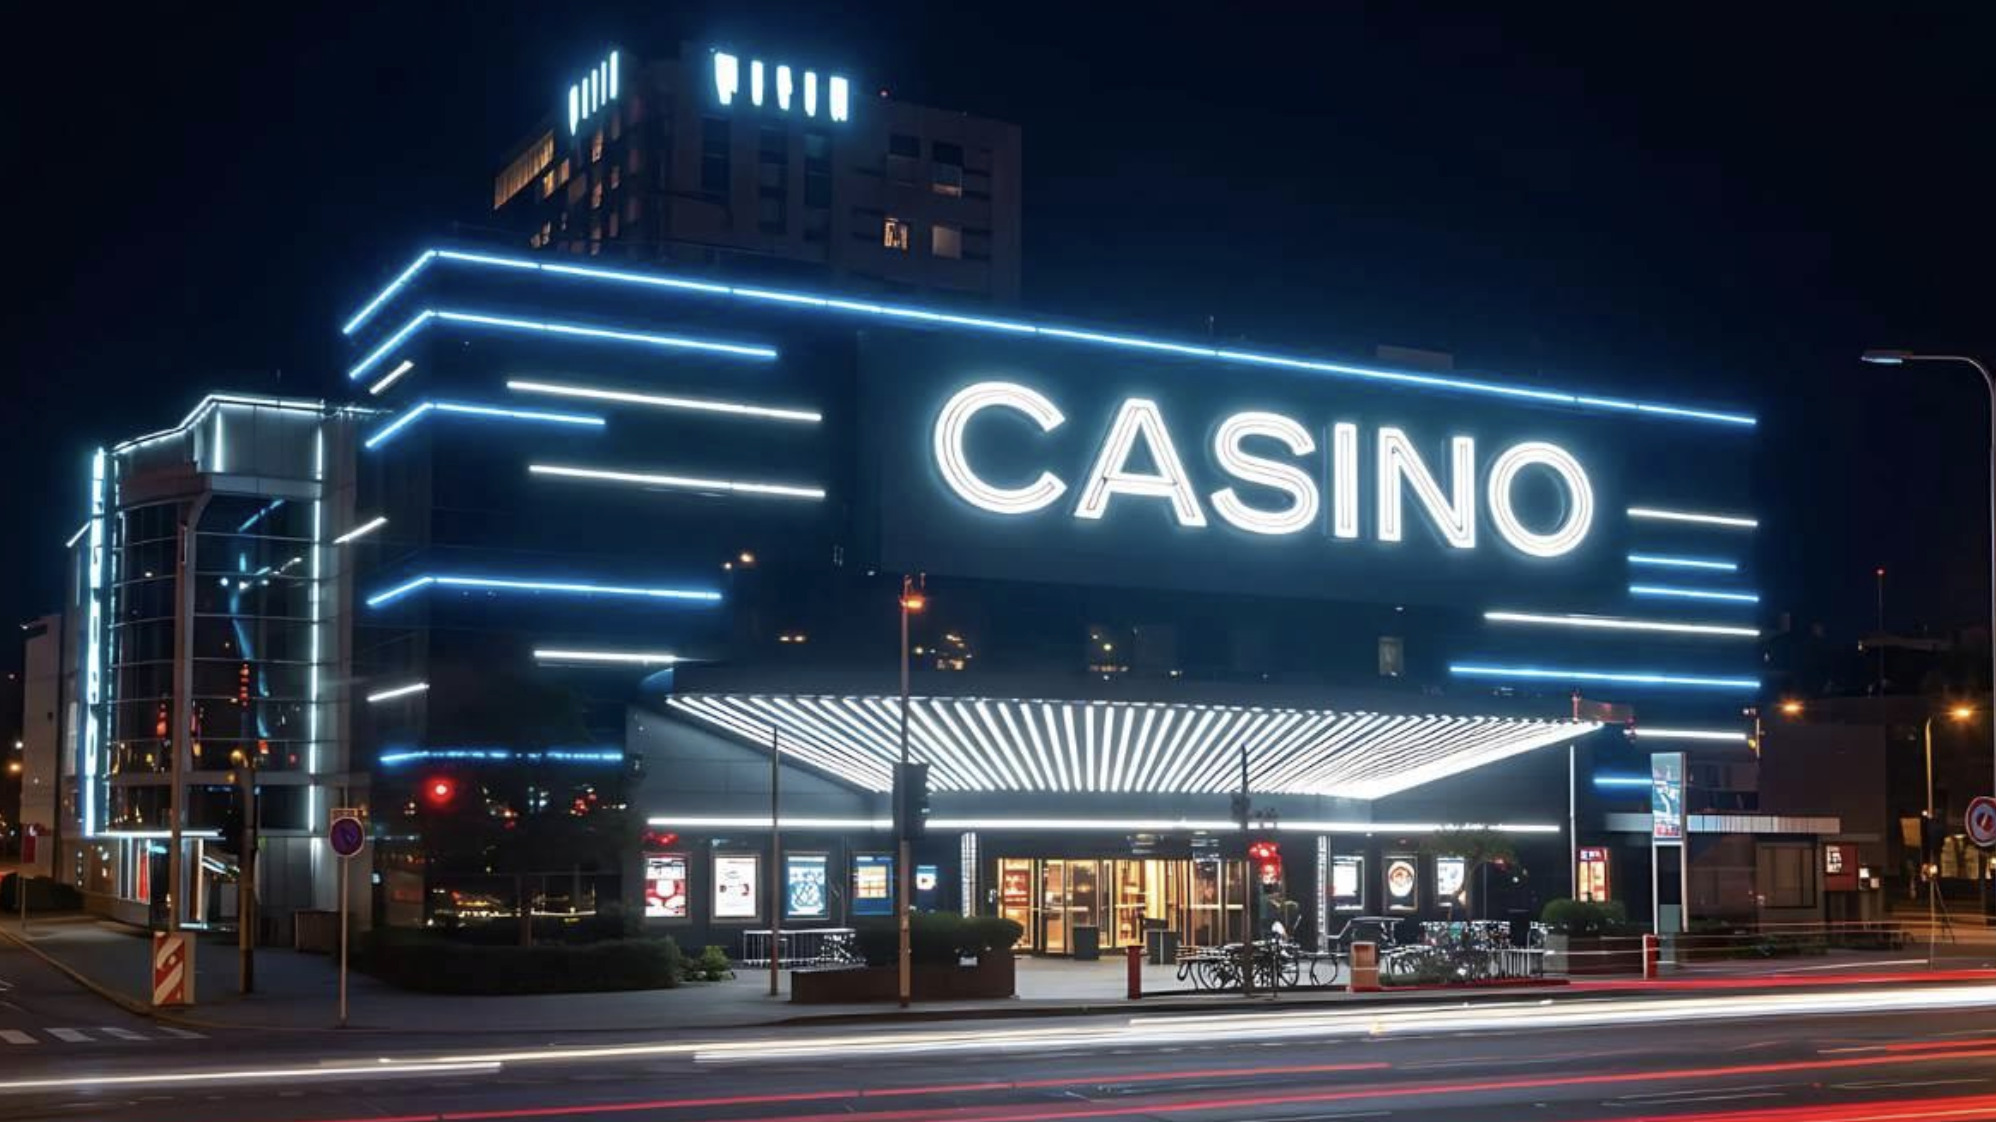
Few subjects reward a camera like a casino floor after dark. The saturated neon, the glossy reflections, the motion of a crowd under coloured light, it is a feast of contrast and atmosphere that can produce some of the most striking images in your portfolio. But neon nightlife is also one of the trickier scenes to shoot well: the lighting is mixed and unforgiving, the dynamic range is brutal, and a casual snapshot rarely captures what your eye actually sees. This guide walks you through how to photograph casinos and neon nightlife, from the settings that tame difficult light to the techniques that turn a chaotic scene into a clean, cinematic frame.
Before you start: a note on access
One practical reality first. Most casino interiors strictly prohibit photography of the gaming floor, for security and privacy reasons, and staff will ask you to put your camera away. The good news is that the most photogenic material, the exterior signage, the neon-lit streets, the entrances, lobbies and architecture, is usually fair game from public spaces. Always check the rules of the specific venue, avoid photographing other people without consent, and focus your creative energy where it is welcome: the dazzling world of neon that surrounds these places after dark.
Gear that helps (but isn't mandatory)
You do not need a professional kit, but a few things make neon work far easier:
A camera with manual control, whether a mirrorless body, a DSLR or a capable phone with a pro mode, so you can override the automatic exposure that neon constantly fools.
A fast lens (a wide aperture such as f/1.8 or f/2.8) to gather light and isolate glowing signs against dark backgrounds.
A small tripod or a stable surface for long exposures and light trails. A railing or a ledge will do in a pinch.
The habit of shooting in RAW, which preserves the colour and highlight detail you will need when editing those intense neon hues.
The settings that tame neon
Neon is essentially a bright light source sitting in a dark scene, which is exactly what confuses automatic metering. Take control with these starting points.
Shoot in manual or aperture priority. Let the glowing signs be bright and the shadows be dark; do not let the camera "correct" the night into a muddy grey.
Keep ISO as low as the situation allows. On a tripod, use ISO 100–400 for clean, noise-free colour. Handheld, raise it only as much as you must to keep a usable shutter speed.
Expose for the highlights. Neon clips easily, turning vivid reds and pinks into white blobs. Slightly underexpose so the colour stays saturated, then lift the shadows later in editing.
Control white balance deliberately. Auto white balance often neutralises the very colour you came for. Try a daylight or custom setting to keep neon reading as the punchy magenta, cyan and gold it really is.
Techniques that make the shot
Settings get you a clean exposure; technique gives you an image worth keeping.
Look for reflections, which double the impact of neon. Wet pavement after rain, glass façades, car bodies and puddles all turn a single sign into a layered, mirror-world composition. Hunt for them deliberately.
Use long exposures for motion. With the camera steadied, a shutter speed of one to several seconds turns passing cars into ribbons of light and a moving crowd into soft, ghostly energy, while the static signs stay razor sharp. It is the classic look of the electric city, and it is mostly about holding the camera still.
Mind your composition. Neon scenes are busy, so give the eye an anchor: a single dominant sign, a leading line of lights drawing into the frame, or a lone figure silhouetted against the glow. Negative space, a patch of dark sky or shadowed wall, lets the colour breathe.
Finally, shoot the blue hour, the twenty or thirty minutes after sunset when the sky still holds deep blue. That residual light balances the neon beautifully and keeps backgrounds from going pure black, giving you the richest version of the scene.
From capture to edit
The neon look is finished in editing, not in camera. A well-exposed RAW file is your raw material for pushing colour, adding glow and grading the whole frame toward that cinematic, after-dark mood. For a full walkthrough of that process, see our companion guide on how to edit photos for a glamorous Las Vegas casino aesthetic.
Photograph the neon, respect the venue, and let the night do the rest. Once you learn to read mixed light and chase reflections, casino nightlife becomes one of the most rewarding scenes a camera can capture.
Frequently asked questions
Can you take photos inside a casino? Usually not on the gaming floor. Most casinos prohibit photography there for security and privacy reasons. Exteriors, neon signage, lobbies and public streets are generally fine, but always check the specific venue's rules and avoid photographing people without consent.
What camera settings are best for neon photography? Shoot in manual or aperture priority, keep ISO low when on a tripod, use a wide aperture to gather light, expose slightly for the highlights so neon colour stays saturated, and set a daylight or custom white balance rather than auto to preserve the vivid hues.
How do you capture light trails at night? Steady the camera on a tripod or solid surface, use a low ISO and a small aperture, and set a long shutter speed of one to several seconds. Moving lights such as cars render as smooth trails while stationary signs stay sharp.
What is the best time to shoot neon nightlife? The blue hour, the twenty to thirty minutes after sunset, is ideal. The deep blue sky balances the neon, prevents pure-black backgrounds and gives the richest, most cinematic result.